Turn The Key. Find Your Adventure.
Prepare for smooth, consistent, powerful starts from your Subaru-powered VW Bay Window Bus – every time.
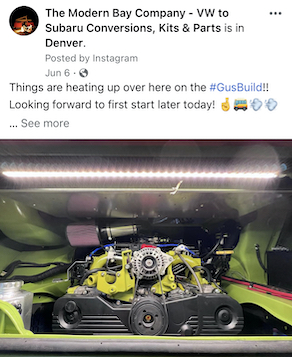
All right, what’s up Modern Bay tribe Travis here with Modern Bay Company. As you guys know, we do Subaru conversions into vintage Volkswagen Bay window buses. It’s kind of our thing. And today’s video, today’s wrap, is all about upgrading the starter to work well with the Subaru power. So we use these starters, they’re from, they’re meant for a Volkswagen, another Volkswagen, a tdi, actually starter number SR 0 4 0 8 x. You should be able to see, I think in this camera here. So this guy puts out over two kilowatts, a lot of torque, which is great for a higher compression engine and to turn it over whenever you need to and for lasting for longevity. There we go, lasting longer. And another cool thing about this starter is that as opposed to the stock VW starter, not only is it more powerful, but it doesn’t have to seat in this really annoying bushing in here to work properly.
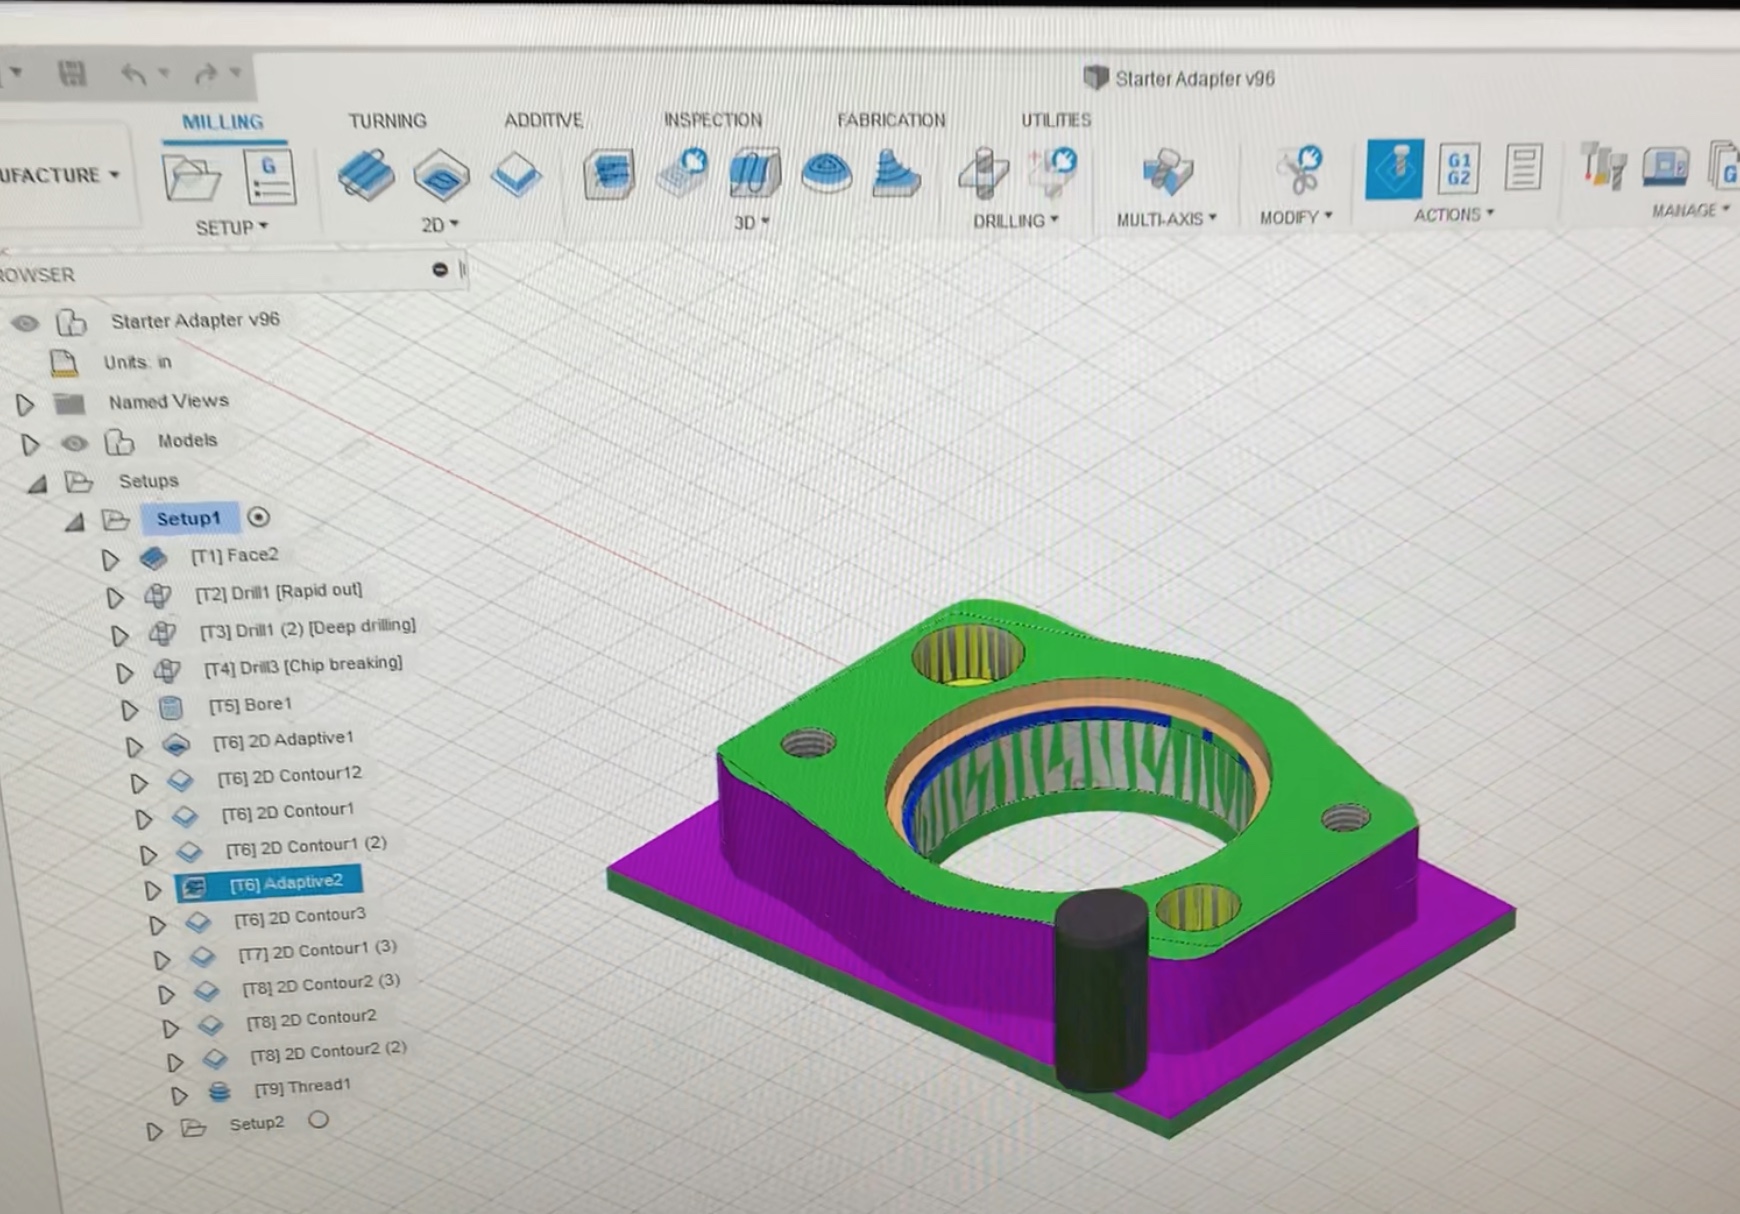
It doesn’t use that setup at all. So in order to use this, you have to have one of these guys. This is like a modern based special job here. So it’s basically a spacer that allows this starter to have the correct throw. So when it plunges forward, it has the correct throw and engages the teeth to the correct to appropriate degree. It’s about two thirds of the way on the cog here. Little gear here. And then it has to have the correct depth engagement. It’s actually quite complicated to nail this, but where the teeth engage with the flywheel right in here, if I remember right, it’s either 35 or 40,000. The depth that you measure, that the teeth actually meet each other. So this has taken a long time to do. I’m just going to be totally honest. This was version one that we actually had C N C cut and made tested it.
It didn’t work, just didn’t work. It did not have the correct bore, the correct throw. There were things about it that were not great, but we were getting somewhere, right? So we have this cutout. So other oh two adapters do not have this cutout, therefore you have to shave ’em down. It’s really annoying. But this is built specifically for the oh oh two VW transmission, which is why it’s thicker and has this little cutout down here. Another problem that we were trying to solve using this starter was that we wanted to clock this starter down as low as we could and still make it work properly. Because the underbody right here is actually quite low. So if this is right by the underbody, and then you’ve got fuel lines right here, it starts to get cramped. And honestly, I don’t like a fuel line coming right by my hot lead on the starter.
Just don’t in case there’s ever a spark or anything like that. So I wanted to clock this as far low as possible. Also to make it kind of perfect as we can for the Subaru conversion. So yeah, we started with, this one didn’t work. Next up was this one. It actually worked, but we still wanted to clock it a little bit more, get a little more clearance there. And so this was version two. Then to save some costs, we did a 3D print of that guy and tested our 3D print. We used a hundred percent infill on this. And this is strong enough to actually test the starter. Honestly, this could be strong enough to actually run it. But we wanted to use high quality CNC aluminum. I believe this is 6 0 6 1 aluminum, but it’s the good stuff, the stuff you want to use. So that’s kind of the design process.
That was for the oh oh two transmission right here. We also have one for the oh nine one transmission, which you’ll see a little bit different, but both of these guys are dialed. So I’m really, really excited to show them to you to start using them and for you guys to start using them on your buses as well. Not only will your will your, not only will, your will, gosh, I’m going to try again. Not only will your starter, starter starter last longer, but it’s going to be turning that motor over with more power. So this, oh, I gotta stop doing that. This is our first, this is the first one of our production run of these guys. So we’ve got a number of these sitting on the shelf for our in-house builds, but also for you guys should you need one for your build.
So I’m going to show you how to do the install on this so that when we start selling these and sending ’em out, I can just kick people to this video and show them exactly how to install this guy. So without further ado, first up, I will show you, this is the hardware placement. So we’ve got this guy right here, which goes bottom left, goes into here. We have this guy, which is the shorter of the two bolts right here, which goes this. These are the starter bolts. These go into the starter and this is the longer one. And then we’ve got this little kind of fancy, it’s called agist nut. So it’s got a smaller head, but it’s still the correct size and it fits right in there. So we can use a standard socket and it still fits in there for you to tighten it.
That was another problem that we were trying to address with this whole thing to make it super easy to install and not annoying because on previous ones I was using, I’d have to grind some off the starter body to make it work. That’s just not fun for anyone. I’d have to grind stuff off this to make it work. Also, not fun for anyone. Wanted to make it as turnkey as we could. So yeah, let’s just jump in. Install this guy. So step one, we use the Kennedy Engineering products Adapter. Part of that adapter has the correct length stud coming out. So that is there and that is great. So we’re just going to hang it right on that stud. Sometimes depending on your bell housing, this doesn’t just kind of slide in real easy. This one’s nice and easy. Sometimes you gotta take a rubber hammer and just kind of seat it and make sure it is flush and square and all that stuff. It’s looking good. So once it is, I’m going to get these two guys. I’m going to start threading this in a couple threads by hand. And then I’m going to get this guy, get him grabbing a couple threads by hand. So we got one, two, we gotta protect those ears. So we’re going to, all right, that’s seated. Just so we got this one. This is an eight mil, Alan.
All right, so we’ve got those two. This is seated on the bell housing. These guys and these guys all get, I do, I do 25 foot pounds on them. You don’t wanna go too much more than that. I think 2220 or 22 is Volkswagen spec. And this alloy, this metal, it’s, it’s fairly soft, honestly. So compared to other things. So we don’t wanna go too much more than 25. So I’m going to grab my torque wrench, set it up and get that. All right, so we are currently at 15. Whoop, getting wild. Sure, 25 dialed on the nose there. So got this guy, get him up here. Good. We’re pretty much already there from our impact. Fine by me. Get this guy. All right, there we go. So those two ready to rock. Now we’re going to grab our longer bolt of the two and stab this guy right here. Boom, get him in there. And this socket is, the size is 16. I’m not tightening that. Still loose cuz I’m going to get the other one in first. So I don’t have any problems aligning it. So that guy’s in, I am going to go ahead and tighten that.
Boom. All right. Gave it a little bit, now I’m going to clerk it down. Same 25. Boom.
All right. Ooh, got a little higher than 25 in there. I’m just going to double check this guy. All right, so that is that this guy is looking awesome. Ready to turn over this Subaru motor for years and years to come. And that really is that for this video. Next up, I’m probably also going to actually sell this kit with a little, I can sell it with the starter if you guys want just the whole kit all as one. I could also sell it with a little clip on adapter for the wires right here, cuz you’ve got your Volkswagen wire and your wire coming from the Subaru ECM that both go into this single spade. And so I, I’ll probably just sell that little clip with it. And then next up what I’m doing, so this comes from the alternator. I’m going to put the correct lu on this guy. Go straight from here over to my alternator. And then of course we’ve got a wire coming from the starter to here as well. But that’s for another video, another talk for this video. We’re done. Hit me with any questions, comments, suggestions. You guys always have great suggestions for the comments to make things easier, better you name it. And let us know if we can help you in any way on your bay window bus conversion to Subaru Power. Thanks guys. Bye.