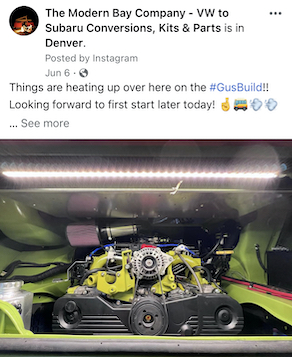
Learn how to install our TDI Starter Adapter Plate on 002 VW Transmission for your Subaru Bus Conversion
Tools Needed:
Parts Included:
Step by Step Instructions:
Step 1: Clean Gas Tank Compartment
Ensure compartment is free of dust and debris. Use a wire brush and/or vacuum if necessary. Remove old 1/4” fuel hose off of body vent lines.
Step 2: Prep Filler Tube, Vent Lines, and Rubber Top Piece
On bench; clean filler tube and stock vent lines using brake cleaner to wipe away any dirt, grime, or grease. The rubber attachment for the gas cap at the top of the filler tube has a creased line that marks the center alignment of the rubber top. Using that marking, attach new rubber top and secure new hose clamp. For the bottom of the filler tube the rubber elbow that attached to the gas tank side will need to be cut to match the old piece. Cut new piece and lightly coat with O-Ring lube and place loose clamps on each end. Cut to length and attach new 1/4” fuel hose to stock yellow vent tubes so they are ready to attach to body side. These are cut to 2-3/4” for tube to body side. You will cut the tube to tank side 1/4” fuel hose to length once tank and lines are in place.
Step 3: Attach Yellow Tube Lines To Body Side and Place Fill Tube in Compartment
Attach yellow tube lines in tank compartment. If O-Ring lube is needed, use sparingly to ensure a tight and secure fit. Feed the filler tube through the tank side and into the passenger side compartment where gas cap port is. Have a helping hand on the outside by the gas cap and place filler tube generally where it will rest permanently.
Step 4: Install Fuel Tank
Secure yellow vent tubes to the ceiling of the tank compartment using a zip tie or bungee cord to allow room for tank to be installed. You will need to move tank straps out of the way as well by placing them upward resting on engine lid compartment. Install fuel tank in compartment. Use caution with bottom feed/return ports on tank while installing. On some aftermarket gas tanks you may need to mark and cut/clearance the body fuel port hole to make room for the feed/return ports in order for tank to fit properly.
Step 5: Attach Filler Tube and Yellow Lines to Tank.
Place filler tube in proper position by having someone guide from the gas cap area while you place elbow at bottom of filler tube onto tank. You may need to twist and turn the elbow/tube in order for it to sit right. Once top and bottom of filler tube are in proper placement secure hose clamps on elbow. You may now attach yellow stock vent lines by cutting to length 1/4” fuel hose
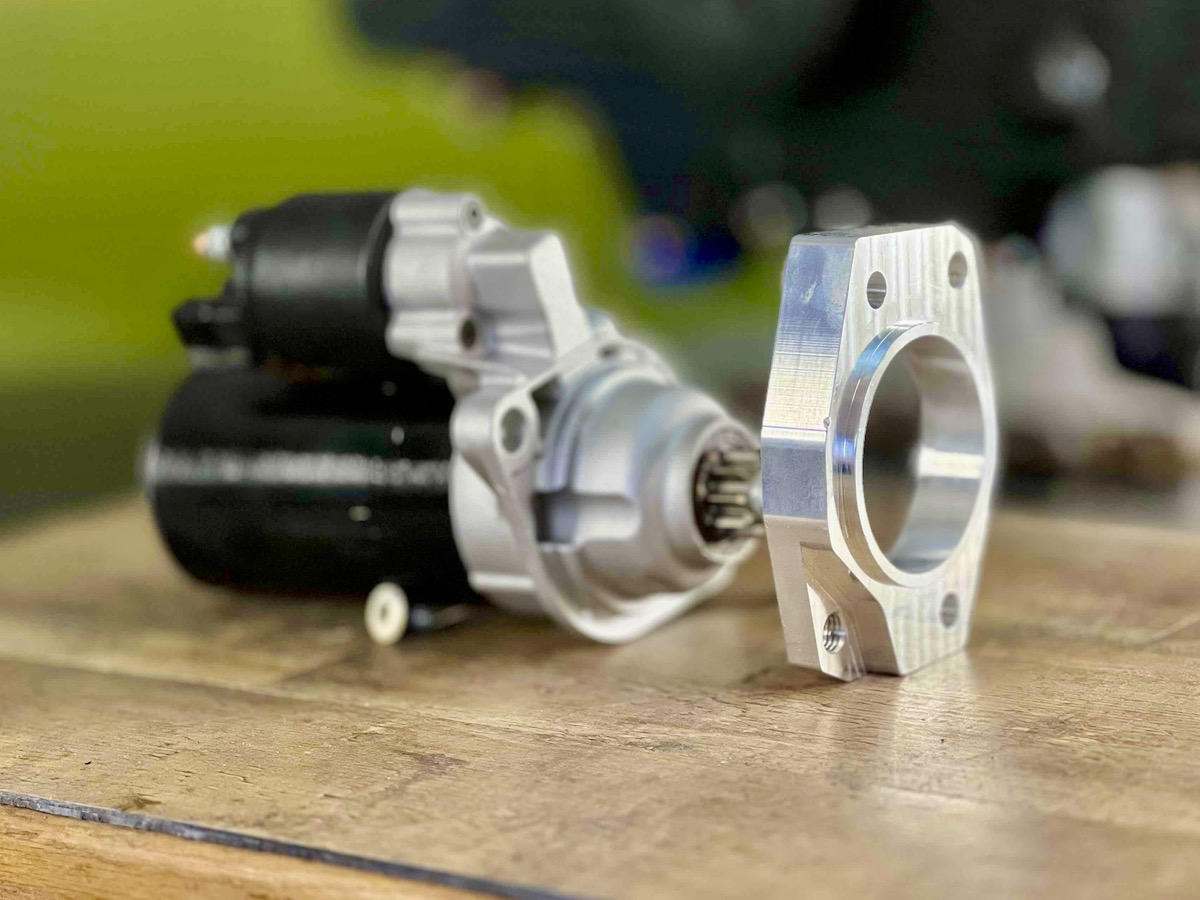
Step 1:
Mount starter adapter plate using provided 8mm hex bolt and 15mm Jis Nut. The larger hole on the adapter plate will slide over the stud protruding from the Transmission adapter plate. Ensure starter adapter plate is flush and square before tightening down.
Torque Specification: 25 ft. lbs.
Step 2: Mount starter to adapter plate (see in video 8:25)
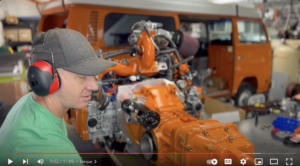
Using the longer provided 16mm starter bolt for the top, and the shorter bolt for the bottom; secure starter to adapter plate. Do NOT tighten one bolt at a time. Ensure starter is flush and seated properly before tightening and torquing down starter to plate.